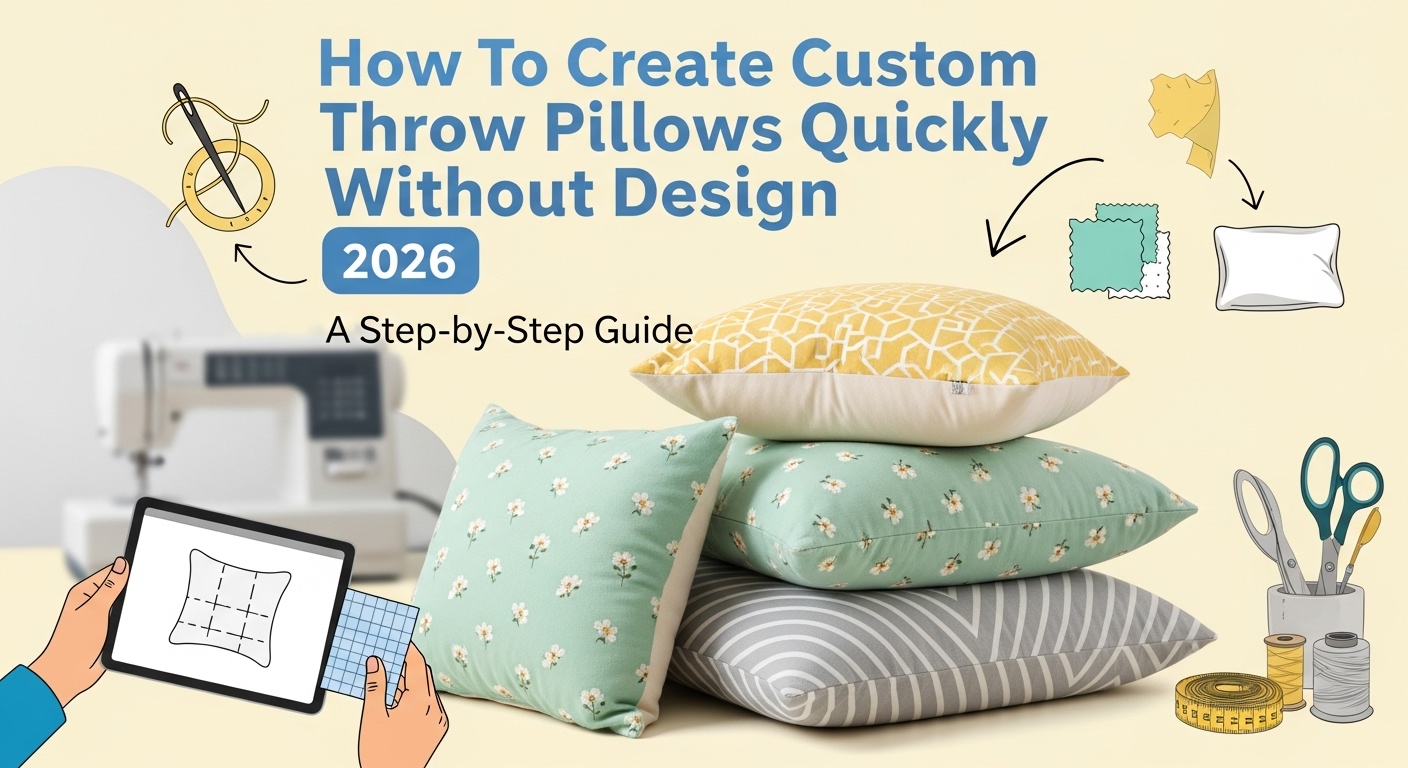
Custom throw pillows are commonly used to personalize children’s bedrooms and shared family spaces. Because they combine decorative appeal with everyday durability, thoughtful setup helps prevent printing and sizing mistakes.
Today’s customization platforms integrate layout tools, typography controls, and print previews into one streamlined workflow. This makes it possible to design without switching between multiple programs.
For beginners, structured templates reduce measurement errors. Many creators begin with the Adobe Express pillow designer because it provides preset pillow dimensions and guided layout controls aligned with standard formats.
The guide below focuses on layout structure, artwork resolution, and production preparation.
Step-by-Step Guide for Using Custom Throw Pillows
Step 1: Confirm Pillow Dimensions and Print Format
Goal
Establish accurate sizing before designing.
How to do it
- Select the pillow format (square, lumbar, rectangular).
- Confirm exact measurements (e.g., 16×16 inches).
- Decide on single-sided or double-sided printing.
- Review seam allowances and safe zones.
- Lock the canvas size.
What to watch for
- Designing without confirming final dimensions.
- Placing text too close to stitched edges.
- Misunderstanding wrap versus front-panel printing.
Tool notes
Adobe Express includes preset pillow sizes that align canvas dimensions with common production standards.
Step 2: Choose a Template and Build the Layout
Goal
Create a balanced design structure.
How to do it
- Select a template aligned with the room theme.
- Replace placeholder text with custom content.
- Center focal graphics.
- Maintain consistent spacing.
- Use alignment guides.
What to watch for
- Overcrowded compositions.
- Uneven margins.
- Decorative elements cut near seams.
Step 3: Add High-Resolution Graphics and Text
Goal
Ensure clarity on printed fabric.
How to do it
- Upload images at 300 DPI at final size.
- Avoid enlarging low-resolution photos.
- Use vector graphics for scalable elements.
- Increase contrast slightly.
- Preview at 100% zoom.
What to watch for
- Pixelation.
- Thin fonts that may soften in print.
- Low contrast color combinations.
Tool notes
Vector-based platforms such as Gravit Designer can help maintain scalability when preparing illustration elements.
Step 4: Adjust Color for Fabric Printing
Goal
Anticipate how ink behaves on textile material.
How to do it
- Confirm required color mode (RGB or CMYK).
- Avoid extremely saturated neon tones.
- Compare light and dark background variations.
- Use preview simulations if available.
- Evaluate contrast at multiple zoom levels.
What to watch for
- Color shifts between screen and print.
- Fabric texture muting fine detail.
- Overly subtle color differences.
Step 5: Review Composition at Full Scale
Goal
Validate spacing, balance, and readability.
How to do it
- Zoom to full size view.
- Inspect edges carefully.
- Confirm symmetry.
- Review text legibility from a distance.
- Compare front and back designs if applicable.
What to watch for
- Cropped edges.
- Off-center alignment.
- Inconsistent padding.
Step 6: Export a Print-Ready File
Goal
Prepare the file for production without errors.
How to do it
- Export at 300 DPI.
- Confirm correct color mode.
- Remove unused layers.
- Double-check final dimensions.
- Save editable and final versions.
What to watch for
- Incorrect scaling during export.
- Flattened layers that should remain editable.
- Missing safe margins.
Step 7: Coordinate Production and Delivery
Goal
Manage ordering and shipment effectively.
How to do it
- Confirm quantity and fabric type.
- Review digital proof carefully.
- Approve the final version.
- Track production timelines.
- Save order confirmations.
What to watch for
- Overlooking production lead times.
- Submitting outdated versions.
- Ignoring care instructions.
Tool notes
Shipping management tools such as Shippo can help organize tracking and delivery updates once the order is processed.
Common Workflow Variations
Photo-Based Pillow Design
Use high-resolution family photos and keep typography minimal. Adjust brightness slightly for textile printing.
Pattern-Focused Layout
Create repeating designs and confirm seamless edge alignment.
Illustrated Character Pillow
Use vector artwork to maintain clean outlines and scalable graphics.
Personalized Gift Series
Duplicate a base template and adjust names or dates while maintaining consistent spacing.
Before You Start Checklist
- Final size confirmed
- Seam allowance reviewed
- High-resolution assets prepared
- Fonts selected
- Color mode identified
- Fabric choice decided
- Timeline established
- Quantity determined
Pre-Export / Pre-Order Checklist
- 300 DPI resolution verified
- Safe margins respected
- Spelling reviewed
- Contrast checked
- Dimensions confirmed
- Unused layers removed
- Editable file saved
- Final export inspected
Common Issues and Fixes
Blurry images
Ensure photos are 300 DPI at final size.
Text too close to seams
Increase safe margins and reposition inward.
Muted colors
Adjust contrast and avoid extreme saturation.
Off-center design
Use alignment guides before export.
Printer rejection
Recheck file format, resolution, and color mode.
How To Use Custom Throw Pillows: FAQs
Is it better to start with a template?
Templates simplify margin and sizing setup. Blank canvases require more manual configuration.
What resolution should I use?
300 DPI at final size is standard for textile printing.
Should I design in RGB or CMYK?
Confirm printer requirements before exporting.
How do I keep artwork centered?
Use alignment guides and preview at full scale before final export.